If you're looking to elevate the look of your home with a timeless, sophisticated flooring pattern, installing a herringbone floor might be just the ticket. This classic geometric pattern adds movement, elegance and visual interest to any room, whether you're outfitting a modern flat in Manchester or refurbishing a Victorian terrace in London.
In this comprehensive guide, you'll learn how to install herringbone flooring yourself, whether you're a DIY enthusiast, interior designer, or a professional tradesman seeking to upskill. We'll walk you through the tools, materials, layout techniques, and expert tips you'll need to achieve that clean, high-end finish.
Why Choose a Herringbone Floor?
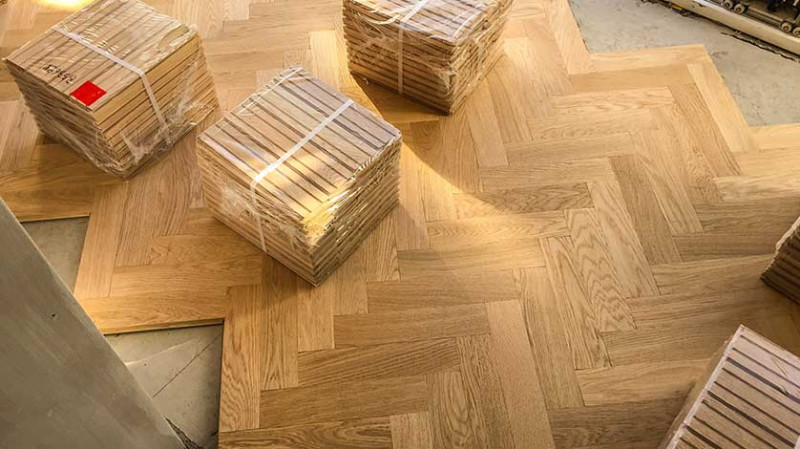
Herringbone floors aren't just visually striking, they offer several practical advantages, too. The interlocking pattern provides excellent stability and wear resistance, ideal for high-traffic areas like hallways and living rooms. Originally popular with parquet wood flooring, herringbone designs are now available in engineered hardwood, vinyl, tile and laminate options, making it suitable for nearly every budget and home style.
Whether you're installing a warm oak finish in a country-style home or sleek grey tones in a minimalist apartment, the pattern lends old-world charm and a sense of craftsmanship. It also reflects light differently based on the angle, adding dynamic texture to rooms that can feel flat or uniform with standard planks.
Because of its bold pattern, herringbone can help define spaces in open-plan homes or enhance the depth of narrow corridors. It's no wonder more UK designers and homeowners are choosing it as a focal point in their interior design projects.
Tools and Materials You'll Need
Before you begin, gather all your materials and tools. Being well-prepared ensures your project goes smoothly and reduces costly errors.
| Tools | Materials |
|---|---|
| Measuring tape | Herringbone flooring packs (engineered wood, laminate, or vinyl) |
| Chalk line or laser level | Underlay (if needed) |
| Mitre saw or table saw | Adhesive (glue-down) or click-lock system components |
| Trowel (for glue application) | Spacers |
| Tapping block and pull bar | Edge trimming or thresholds |
| Pencil and square | Flooring finish (optional oil or lacquer sealant) |
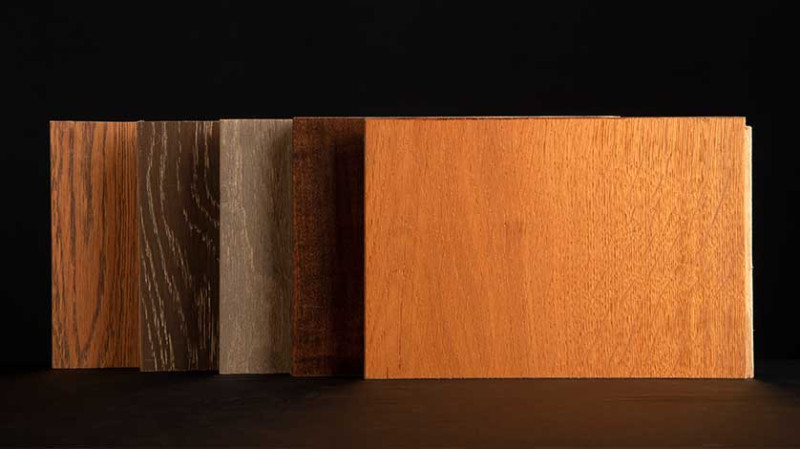
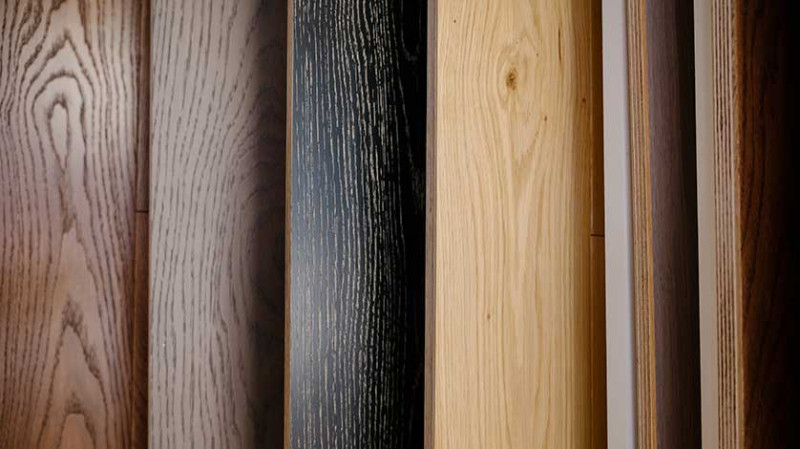
Choosing the right type of herringbone floor depends on your budget, subfloor condition and lifestyle. Oak engineered wood is a popular premium option with UK homes, while luxury vinyl and laminate offer affordable and waterproof alternatives for kitchens and bathrooms.
Step 1: Acclimate the Flooring
Start by acclimating your flooring. This means storing the unopened packs in the room where they'll be installed for at least 48 hours before laying. This allows the planks to adjust to temperature and humidity levels in your home, reducing the chance of expansion or warping once installed.
Make sure the room is at a comfortable, consistent living temperature (usually 18–22°C) with humidity between 40–60%. If you have underfloor heating, this should be turned on but kept at a low setting during this period.
Don't skip this crucial step, especially in UK homes where humidity can drastically change between winter and summer seasons.
Step 2: Prepare the Subfloor
A successful herringbone floor starts with a clean, level and dry subfloor. Remove existing flooring and ensure the surface underneath is in good condition. For concrete subfloors, any cracks should be filled and allowed to set before continuing. Timber subfloors should be firmly screwed down to prevent creaking or movement.
Use a moisture metre to check subfloor levels; excessive moisture can cause engineered or wood floors to lift over time. If you're using a glue-down method, a moisture barrier may also be needed. Floating floors (like click-lock laminate) will need an underlay to reduce impact sound and smooth out minor imperfections beneath.
Vacuum the entire area to remove dust and debris, it's vital that the adhesive bonds cleanly if you're using the glue-down method.
Step 3: Establish the Layout and Find Your Centre
Proper layout is critical with herringbone patterns. Even small misalignments can grow more noticeable as you lay more rows. Begin by finding the centre point of the room using a chalk line or laser level, snapping a line lengthways and widthwise to give you crosshairs at the centre.
Lay a dry run of boards without adhesive along the central axis to visualise how the pattern will flow across the space. Check how the boards will terminate near skirting boards or walls - ideally, you want a balanced look without silver cuts at the edges.
Angle your first planks so the point of the "V" sits along one line of the cross. In a formal space like a large lounge or hallway, you may want the points of the herringbone to run toward the door for a pleasing focal entry point.
Step 4: Install the First Row (Starter Block Technique)
Use a starter block or temporary board screwed into the subfloor to help guide your first few tiles. This keeps your angles accurate while the glue or click system sets. Begin laying tiles from the centre point outwards, working in triangles. Each row consists of repeating "V" patterns where the short end of one board locks into the long edge of another at a right angle.
Apply adhesive evenly using a notched trowel if using the glue-down method. Do small sections at a time, so the glue doesn't dry before the boards are placed. For floating floors, simply click tiles together, pressing down to engage the locking mechanism without trapping air gaps below them.
Check alignment every few rows using a square and level. Installing herringbone requires patience, uneven angles early on will make it impossible to cleanly insert boards later on.
Step 5: Continue Laying the Pattern
Once your initial rows are locked in, continue laying outwards towards the walls. Ensure you stagger your pattern evenly and measure cuts carefully where boards meet the perimeter of the room. A mitre saw is ideal for clean, repeatable cuts with sharp corners.
Take regular breaks to step back and visually inspect your work, as it becomes harder to adjust patterns the further you progress. Use spacers to maintain a uniform expansion gap (typically 10–15mm) around the edges of the room. This lets the floor expand naturally with seasonal humidity changes.
At this stage, attention to detail sets a professional installation apart from a rushed one. Double-check angles, avoid over-gluing, and ensure tiles are flush without warping or lifting.
Step 6: Trim the Edges and Install Finishing Touches
Once the field area is completed, fill in the gaps along the perimeter with carefully cut pieces to fit. These may require angled cuts to mimic the herringbone direction. Use a jigsaw or circular saw where needed for tight edge work around door frames or awkward corners.
Reinstall skirting boards or add scotia trims to cover expansion gaps. Threshold bars can be placed between adjacent floor types (for example, from hallway to tile-floored kitchen) to ensure a clean, professional transition.
Vacuum and wipe down the flooring after your installation is complete. If you've opted for unfinished or raw engineered boards, now is the time to apply your final finish, oil or lacquer, to protect the floor from spills and wear.
Expert Tips for Herringbone Success
- Buy extra material: Always order 10-15% more flooring than the room area to allow for cuts and errors, especially with complex patterns like herringbone.
- Test your first few rows thoroughly: It's easier to start over early on than to undo several square metres of work.
- Mind the pattern direction: For long hallways, run the points forward to draw the eye through the space. In wide or square rooms, keep symmetry front and centre as a design feature.
- Patience pays off: Slow, careful installation outperforms speed every time. Don't rush, one full day for prep and layout is completely normal.
Should You DIY or Call a Professional?
If you're confident with layout, cutting and working patiently, a herringbone floor is achievable as a DIY project, especially with floating floor systems. However, for high-value materials or if you're working in a listed property with uneven floors, hiring a professional flooring installer might be a smarter long-term investment.
Designers and tradespeople can also use this guide to communicate more effectively with clients and understand the structural demands of traditional and modern herringbone floors, especially as they grow in popularity in UK renovations and new-build properties alike.
Conclusion
Installing a herringbone floor is one of the most rewarding home improvement projects you can undertake. It instantly adds character, texture, and luxury to your space. With thoughtful preparation, high-quality materials, and careful craftsmanship, you can transform your floors into a stunning visual centrepiece tailored to traditional and contemporary British homes alike.
Whether you're refurbishing a period property or modernising a flat, embrace this timeless pattern and bring enduring charm right underfoot.
Trending articles
-
How to Install a Herringbone Floor: ...
09 Apr, 2025
-
 Comparing Durability of 12 Hardwood ...
08 Apr, 2025
Comparing Durability of 12 Hardwood ...
08 Apr, 2025
-
 How To Fix Scratches in Vinyl Plank, ...
07 Apr, 2025
How To Fix Scratches in Vinyl Plank, ...
07 Apr, 2025
-
 Top Wood Flooring Trends in the UK for ...
07 Apr, 2025
Top Wood Flooring Trends in the UK for ...
07 Apr, 2025
-
 2025 Flooring Product Launches: New ...
02 Apr, 2025
2025 Flooring Product Launches: New ...
02 Apr, 2025
-
 Top 5 Flooring Trends in the UK This ...
26 Mar, 2025
Top 5 Flooring Trends in the UK This ...
26 Mar, 2025
