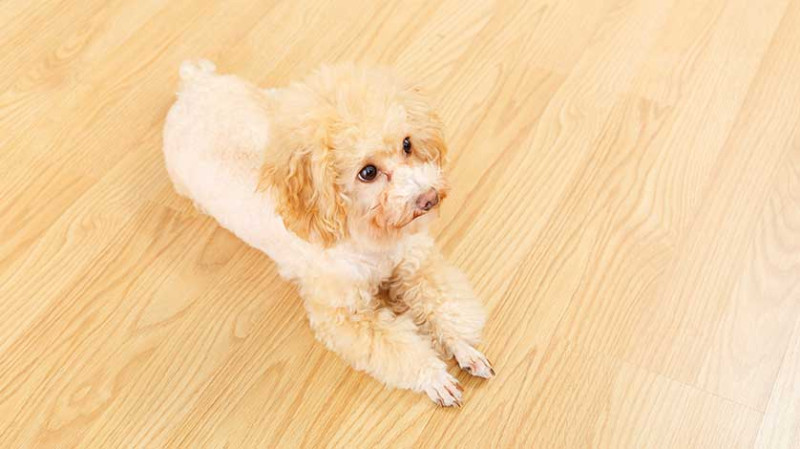
Pet accidents are common, especially for pet owners who might not be aware that their beloved animal is quietly damaging their beautiful hardwood floors. Over time, pet urine can seep into the wood, reacting with the natural tannins in the timber and creating dark, oxidized stains. These types of marks are hard to miss — dark black or greyish circles or patches that seem etched into the boards and often accompanied by odour.
Unfortunately, traditional mopping and surface cleaning won’t solve the problem. The good news is that there are effective ways to remove these stubborn stains, restore the natural beauty of your flooring, and protect your home’s value. Whether you're a DIY enthusiast, a young professional renovating your first home, an architect mindful of detail, or a tradesman looking to advise a client — this guide is tailored to help you understand and tackle oxidized pet stains on hardwood floors.
Understanding the Nature of Oxidized Pet Stains on Hardwood
An oxidized stain is more than surface deep. When pet urine penetrates unsealed or poorly sealed hardwood floors, it starts a chemical reaction — breaking down the ammonia and uric acid into other compounds that react with the wood’s natural materials. This creates a stain that appears black or grey, and it usually cannot be removed with commercial floor cleaners.
If the affected area has been untreated for a long period, the stain will likely have penetrated through the finish into the fibres of the wood. In this case, simple sanding may not be sufficient. Knowing what you're dealing with will guide the level of intervention required to properly fix the issue.
Tools and Materials You’ll Need
Before beginning any stain removal or refinishing project, make sure you gather all necessary tools and safety equipment. Here’s a comprehensive checklist:
- Protective gloves and goggles
- Orbital sander or drum sander (for refinishing larger areas)
- Hand sanding block (for corners or tight spaces)
- Wood bleach (often oxalic acid-based)
- Clean cloths or microfiber rags
- Vacuum with HEPA filter or shop vac
- Neutralising agent for bleach (baking soda and water mix works well)
- Wood filler (if damage is extensive)
- Matching wood stain and finishing oil/lacquer/polyurethane
Step-by-Step: Removing the Pet Stain
The key to removing oxidized pet stains is patience and precision. Here’s the process broken down in detailed steps:
1. Clean and Identify the Affected Area
Start by cleaning the floor thoroughly using a pH-neutral hardwood floor cleaner. Remove any dirt, debris, or surface contaminants. Once the floor is dry, assess the severity of the stain. If it’s a shallow discoloration, you may be able to treat just the surface. However, dark, circular or irregular shapes often indicate deep penetration and more in-depth work is needed.
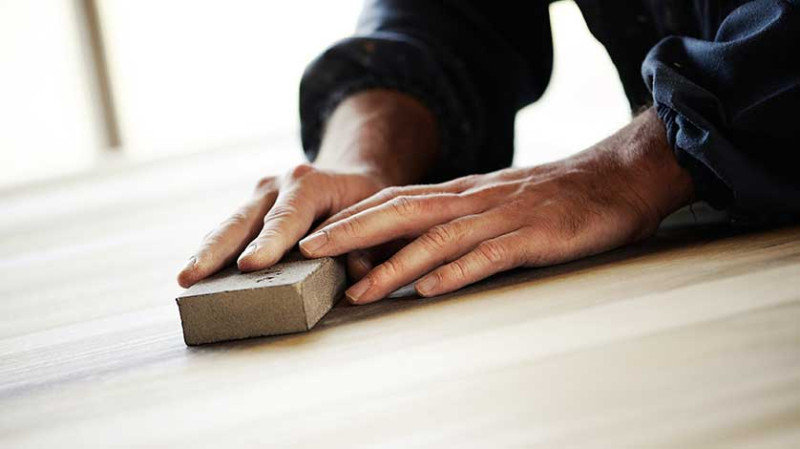
2. Sand the Surface of the Wood
Lightly sand the stained area with a hand sanding block using fine grit sandpaper (100-150 grit). If the stain fades, you may be dealing with a surface mark. If it remains, you will need to remove the wood finish completely using a more aggressive sanding approach such as an orbital sander. Sand with the grain and ensure the area is even with the surrounding wood.
3. Apply Wood Bleach (Oxalic Acid Solution)
Once bare wood is exposed, dissolve oxalic acid crystals in warm water following the manufacturer's instructions. Apply the solution generously onto the stained area using a sponge or rag. Allow it to dry — this typically takes several hours. The acid works by neutralising the chemical compounds responsible for the black oxidation.
4. Rinse and Neutralise
After the area has fully dried and lightened, rinse the wood with clear water and use a baking soda solution to neutralise remaining acid. This is crucial as any leftover acid can interfere with your wood stain or finish later. Allow the area to dry completely before proceeding.
5. Evaluate Results and Repeat if Needed
Sometimes a single application isn’t enough for heavily oxidised spots. If the staining remains, repeat the bleaching process one or two more times. Be careful to avoid over-saturating the area or damaging the wood grain.
6. Apply Wood Filler (If Necessary)
If the previous staining caused damage such as pitting or dishing in the wood, use a fine-grade wood filler that matches your floor’s natural tone. Apply with a putty knife, let it dry thoroughly, and sand smooth.
Refinishing the Hardwood Floor
Once the stain has been removed and the wood is smooth, you’re ready to refinish the floor. This stage is vital for maintaining a consistent look and for protecting the wood from future damage.
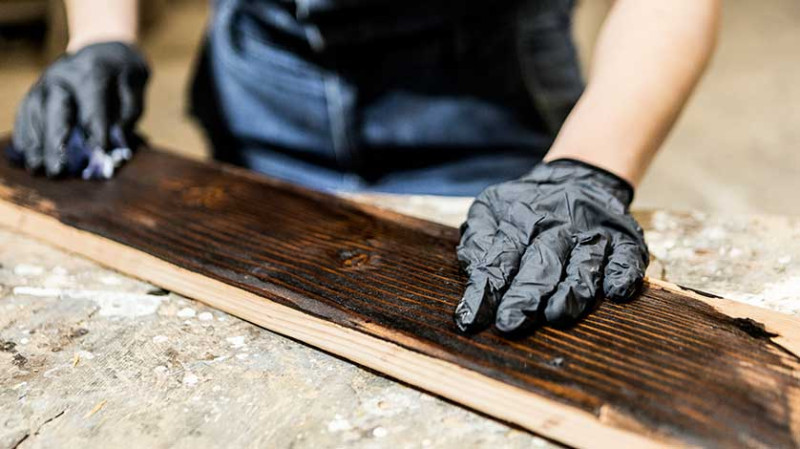
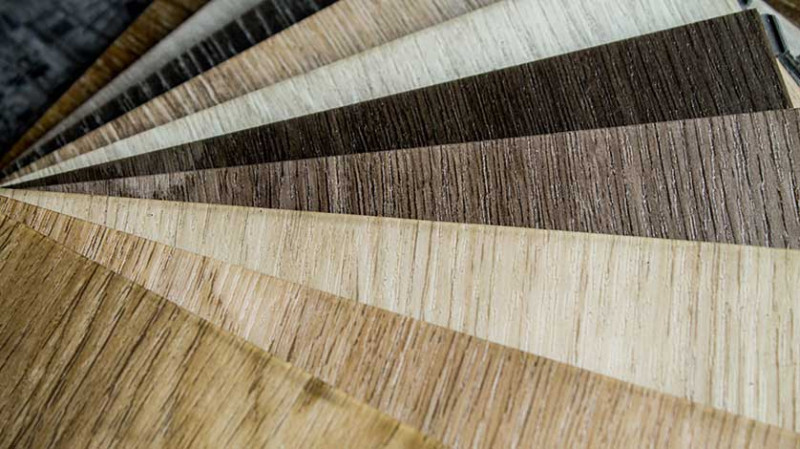
1. Stain to Match
If you’ve only treated a small section, use a sample of wood stain and test it on an offcut or hidden part of the floor to be sure it matches. Apply the stain with a cloth in the direction of the wood grain. Wipe off excess and let dry.
2. Seal the Surface
Once the stain has dried, apply a sealer or top coat for protection. You can choose between water-based polyurethane (fast drying and lower VOCs), oil-based polyurethane (richer appearance but slower to cure), or hardwax oil (natural finish and breathable). Apply thin, even coats and allow appropriate drying time between layers. A light sanding between coats helps achieve a professional finish.
3. Blend with the Rest of the Floor
If you’ve only refinished a portion of the floor, it’s essential to feather the edges of your stain and finish to blend smoothly with the surrounding boards. Sometimes, it’s best to refinish the entire room or at least a full section extending to a natural break (e.g. doorway or room divider).
Preventing Future Stains
Once your hardwood floor is looking great again, it’s time to think about how to prevent this problem from happening again:
- Routinely clean up any pet accidents immediately.
- Ensure floors are properly sealed with a durable topcoat.
- Use pet pads or mats in areas where accidents are common.
- Train pets to avoid certain rooms or use baby gates to limit access.
Stain Removal Summary
| Step | Description |
|---|---|
| Assessment | Identify the depth and severity of the oxidized stain |
| Sanding | Remove surface finish until raw wood is exposed |
| Bleaching | Use oxalic acid to lighten dark stains |
| Neutralising | Rinse and neutralise the acid to prepare for finishing |
| Staining | Apply matching wood stain, if needed |
| Finishing | Protect wood with sealer or top coat |
Final Thoughts
Restoring hardwood floors from pet stains requires some effort, but it’s well worth it for a clean, sanitary and beautiful result. By understanding the chemistry behind oxidised stains and using the correct approach to remove and refinish, you can extend the life of your floor and elevate the aesthetics of your home.
If you’re unsure about taking this on yourself, always consult with or hire a professional. In the UK, there are many flooring specialists and tradespeople who can quote based on the size of the job and help restore your floor with professional-grade equipment.
No matter your background – whether you're a DIY novice or a seasoned tradesman – tackling pet stains head-on with the right tools and techniques will ensure your hardwood floors remain a timeless and valuable asset in your home.
Trending articles
-
How to Remove a Solid Oxidized Stain ...
29 Apr, 2025
-
 Refinishing Hardwood Floors by ...
24 Apr, 2025
Refinishing Hardwood Floors by ...
24 Apr, 2025
-
 A Staining Method That’s BETTER, ...
17 Apr, 2025
A Staining Method That’s BETTER, ...
17 Apr, 2025
-
 The Technological Leap: Advanced LVT ...
15 Apr, 2025
The Technological Leap: Advanced LVT ...
15 Apr, 2025
-
 I Regret Not Getting This Gadget ...
14 Apr, 2025
I Regret Not Getting This Gadget ...
14 Apr, 2025
-
 How to Install a Herringbone Floor: ...
09 Apr, 2025
How to Install a Herringbone Floor: ...
09 Apr, 2025
