Hardwood flooring never goes out of style. It's durable, elegant, and adds unparalleled charm to any home or commercial space. However, even the most well-maintained hardwood floors can show signs of wear after years of use. Whether you're a passionate DIYer, a design-savvy young professional, or a tradesperson looking to restore original floorboards, refinishing hardwood floors by stripping offers a cost-effective and rewarding option to bring old floors back to life.
This guide walks you through everything you need to know about stripping hardwood floors in the UK—from tools and materials, to techniques, safety tips and finishing touches.
What Does It Mean to Strip a Hardwood Floor?
Stripping hardwood floors involves removing the top layer of the current finish—typically varnish, lacquer, or paint—so that a fresh finish can be applied. It may also include removing embedded dirt, scratches, and surface imperfections. Unlike sanding, which uses mechanical abrasives, stripping most often involves a chemical agent or solvent to soften and remove surface coatings.
While sanding is often used in combination with stripping, chemical stripping can be less invasive and is particularly useful for floors with intricate details or uneven surfaces where sanding could do more harm than good.
This method is also a top choice for heritage property restorations, where preserving the integrity of original flooring is key. Designers and architects often opt for chemical stripping when maintaining the authenticity of a period property.
Is Stripping the Right Choice for Your Floor?
Before you begin, it's essential to assess whether stripping is suitable for your particular hardwood floor. Stripping is ideal if:
- The current finish is flaking, discoloured, or has become sticky.
- You want to retain carvings or inlays that sanding might damage.
- You aim to avoid the mess of sanding (particularly in lived-in homes).
- The floor has been painted and you wish to restore its natural look.
However, if your floor has deep gouges or significant unevenness, you may need to follow up with sanding after stripping to ensure a smooth surface.
Tools and Materials You’ll Need
Preparing for a floor-stripping project means gathering the right tools beforehand. Depending on the size and condition of your floor, here’s what you’ll likely need:
| Tool/Material | Purpose |
|---|---|
| Chemical stripper (solvent- or water-based) | Breaks down existing finish or paint layer |
| Paint scraper or putty knife | Used to manually remove softened finish |
| Protective gloves and goggles | Essential for handling strong chemical agents |
| Drop cloths or plastic sheeting | Protects adjacent surfaces and fixtures |
| Fine steel wool or abrasive pad | For delicate removal in corners and edges |
| Masking tape | Used to protect skirting boards and thresholds |
| Neutralising agent (if required) | Ensures no chemical residue remains before refinishing |
Step-by-Step: How to Strip a Hardwood Floor
Once you've prepped your workspace and gathered materials, follow these essential steps to strip your floor efficiently and safely:
Step 1: Clear and Prepare the Area
Remove all furniture, rugs, and obstructions. Make sure the floor is vacuumed or swept to remove dust and debris. Tape around doorframes, skirting boards, and vents to prevent the stripper from seeping into unwanted areas.
Step 2: Apply the Stripping Agent
Using a paintbrush or roller, apply the chemical stripper as per the manufacturer's instructions. Work in manageable sections of about 1 square metre. Most strippers will need to sit for 15–30 minutes to break down the finish effectively.
Step 3: Scrape Away the Old Finish
Once the finish has bubbled or softened, use your scraper to remove it gently. Be careful not to gouge the wood surface. For ornate corners or edges, a small detail scraper or steel wool is useful.
Step 4: Clean Residue
After stripping, you'll need to clean the floor thoroughly. Use a damp cloth or the recommended neutraliser to remove any remaining chemical agents. Let the floor dry completely before proceeding to refinishing.
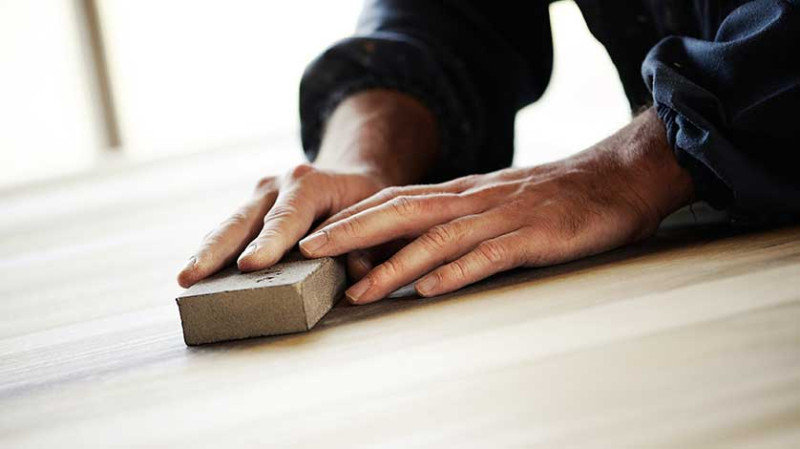
Step 5: Light Sanding (Optional)
If the floor feels rough or uneven after stripping, a light sanding pass using a fine-grit sandpaper (such as 120-grit) can help. This provides a clean base for the new finish to adhere properly.
Common Mistakes to Avoid
Even experienced tradesmen can encounter hiccups while stripping a floor. Here are some pitfalls to prevent:
- Letting the stripper sit too long can damage the wood beneath.
- Skimping on safety gear – chemical exposure can be dangerous.
- Scraping too aggressively can mar or splinter the timber surface.
- Skipping the neutralisation step may prevent the new finish from bonding correctly.
Patience and methodical work pay off. Always read product instructions thoroughly, and test your stripping agent in a hidden spot before tackling the main flooring area.
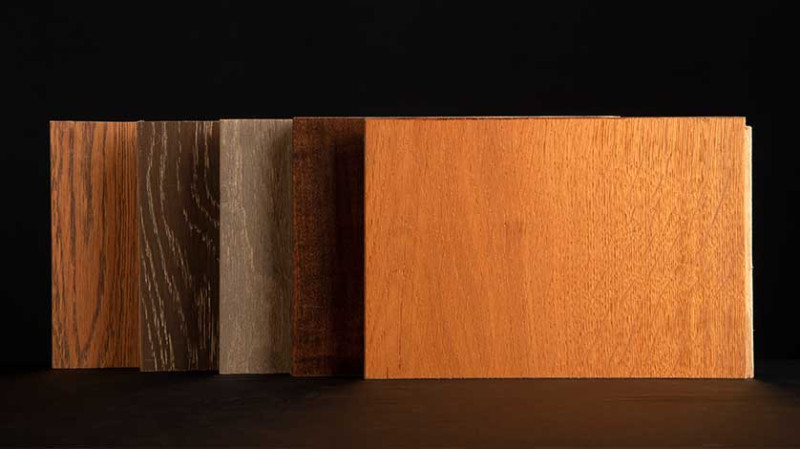
Finishing Touches: Staining and Sealing
With the old finish completely removed, you're now ready to bring your floor to life. Depending on your design vision, you may choose to:
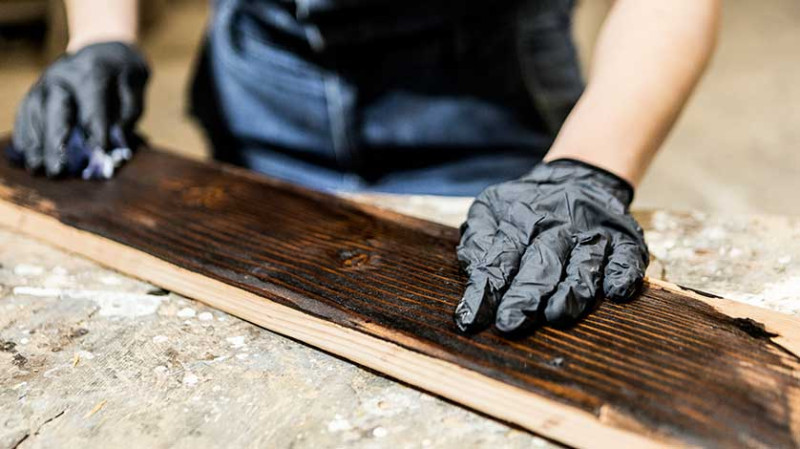
- Apply a wood stain to change or enhance the colour of your floorboards.
- Use a natural oil finish for a matte, eco-friendly look.
- Apply several coats of polyurethane for a hard-wearing, glossy surface—ideal for high-traffic areas.
Each of these options has its benefits, depending on room usage, aesthetic preferences, and maintenance needs. For a period property or rustic look, many designers favour low-sheen finishes like hard wax oil.
Is DIY Right for You, or Should You Hire a Pro?
Stripping and refinishing hardwood floors can be a satisfying project for many DIYers, especially those equipped with time, patience, and a meticulous mindset. For young professionals tackling their first renovation project, this can be a way to drastically increase property value without major investment.
However, complex or large-scale projects—especially in heritage buildings—may call for a professional floor refinisher. Tradesmen and interior architects familiar with traditional materials and finishes can often deliver more consistent and historically appropriate results. And with UK regulations on VOCs (volatile organic compounds), a pro can help you select safe and compliant products.
Final Thoughts
Stripping and refinishing your hardwood floors can reveal their natural beauty and give your space a fresh lease of life. It's a sustainable, budget-friendly alternative to full floor replacement—and for many UK homeowners and professionals, it's a preferred choice in restoration and design.
Whether you're a DIY hobbyist ready to take on your first major flooring project, or a professional looking to offer clients an eco-conscious and aesthetically pleasing solution—floor stripping is a timeless technique worth mastering.
Trending articles
-
Refinishing Hardwood Floors by ...
24 Apr, 2025
-
 A Staining Method That’s BETTER, ...
17 Apr, 2025
A Staining Method That’s BETTER, ...
17 Apr, 2025
-
 The Technological Leap: Advanced LVT ...
15 Apr, 2025
The Technological Leap: Advanced LVT ...
15 Apr, 2025
-
 I Regret Not Getting This Gadget ...
14 Apr, 2025
I Regret Not Getting This Gadget ...
14 Apr, 2025
-
 How to Install a Herringbone Floor: ...
09 Apr, 2025
How to Install a Herringbone Floor: ...
09 Apr, 2025
-
 Comparing Durability of 12 Hardwood ...
08 Apr, 2025
Comparing Durability of 12 Hardwood ...
08 Apr, 2025
